Mint NFTs with web3.js
From the previous articles, we have created and deployed our NFT smartcontract. We also uploaded our NFT metadata collection in Pinata. Now in this article, we will mint NFT into goerli test net.
This is the 3rd and last part of the NFT tutorial series. You can find 1st and 2ndpart in the links below:
1st part: Write and deploy NFT Smart Contracts
2nd part: Create NFT collection and metadata
Let’s open our smartcontract repository in VS code and install @alch/alchemy-web3 library.
npm install @alch/alchemy-web3Inside your scripts folder create a new file mint-nft.js and copy and paste the following code.
require("dotenv").config({path: '../.env'});

const API_URL = process.env.API_URL;
const PUBLIC_KEY = process.env.PUBLIC_KEY;
const PRIVATE_KEY = process.env.PRIVATE_KEY;

const { createAlchemyWeb3 } = require("@alch/alchemy-web3");
const web3 = createAlchemyWeb3(API_URL);
const contract = require("../artifacts/contracts/MyNFT.sol/MyNFT.json");
const contractAddress = process.env.CONTRACT_ADDRESS;
const nftContract = new web3.eth.Contract(contract.abi, contractAddress);

async function mintNFT(tokenURI) {
    const nonce = await web3.eth.getTransactionCount(PUBLIC_KEY, 'latest');
    const tx = {
        'from': PUBLIC_KEY,
        'to': contractAddress,
        'nonce': nonce,
        'gas': 500000,
        'data': nftContract.methods.mintNFT(PUBLIC_KEY, tokenURI).encodeABI()
    };

    const signPromise = web3.eth.accounts.signTransaction(tx, PRIVATE_KEY);
    signPromise.then((signedTx) => {
        web3.eth.sendSignedTransaction(
            signedTx.rawTransaction,
            function (err, hash) {
                if (!err) {
                    console.log("The transaction hash is: ", hash);
                    console.log("Visit goerli etherscan for details of the transaction.");
                } else {
                    console.log(err);
                }
            }
        )
    }).catch((err) => {
        console.log(err);
    });
}

mintNFT(process.env.PINATA_HASH);
Before running the above script, make sure your env file is updated with the below values. For updated code, visit Github repo.
API_URL=https://eth-goerli.g.alchemy.com/v2/your-alchemy-key
PRIVATE_KEY=your-private-key-without-0x
CONTRACT_ADDRESS=contract-address-of-deployed-contract
PUBLIC_KEY=public-key-where-you-want-to-mint-nft
PINATA_HASH=https://gateway.pinata.cloud/ipfs/{CID}/{tokenId}
At first update tokenId as 0, since our token id in NFT collection starts from 0. Now run the mint script.
node scripts/mint-nft.jsAfter successfully running the script, you will get the transaction hash. You can search transactions using the hash in goerli etherscan. Transaction details look like this.

If you want to mint NFT again then make sure you increment the token id in the .env file. You can also create a loop in your mint function to mint your required NFT by incrementing the token id inside the loop. NFT will be minted to the account with provided public key in the .env file.
Viewing your NFT
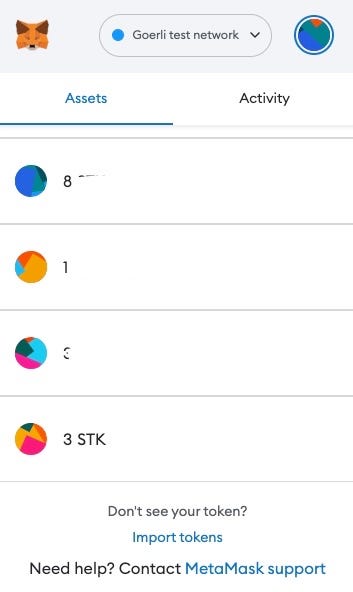
To view your NFT in meta mask, you need to import the token first by adding the contract address.

Once you mint NFT to your address, you can view numbers of NFT in your assets list.
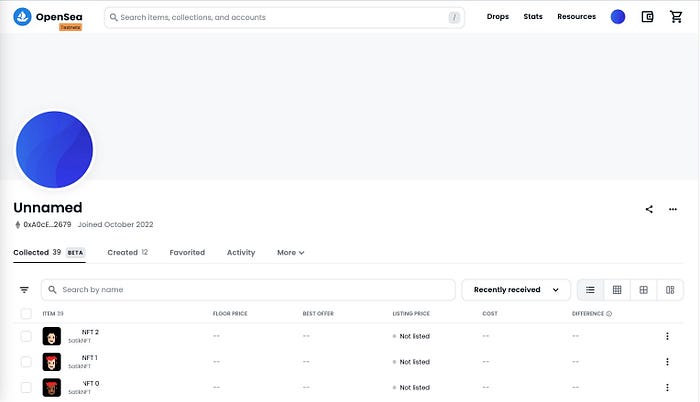
You can also view your NFTs in opensea testnet marketplace. Sign up using your metamask account, you can directly find list of your NFTs there.
That is it. Congratulations, you have learned to write and deploy nft smartcontract, create nft metadata, and mint nft. Enjoy.
Reference link:
https://ethereum.org/en/developers/tutorials/how-to-write-and-deploy-an-nft/